Felt flower ring tutorial: a 20-minute beginner project
By TheCleverKitty editorial team
The ring that paid for the felt
Felt flower rings were my best seller at craft fair tables, and the reason is unglamorous: they’re twenty minutes of work, they fit everyone, and they photograph like crazy. As a beginner project they’re perfect — one flower teaches layering, petal shaping, and the center wrap that every later felt flower uses.
Supplies
Build the petals
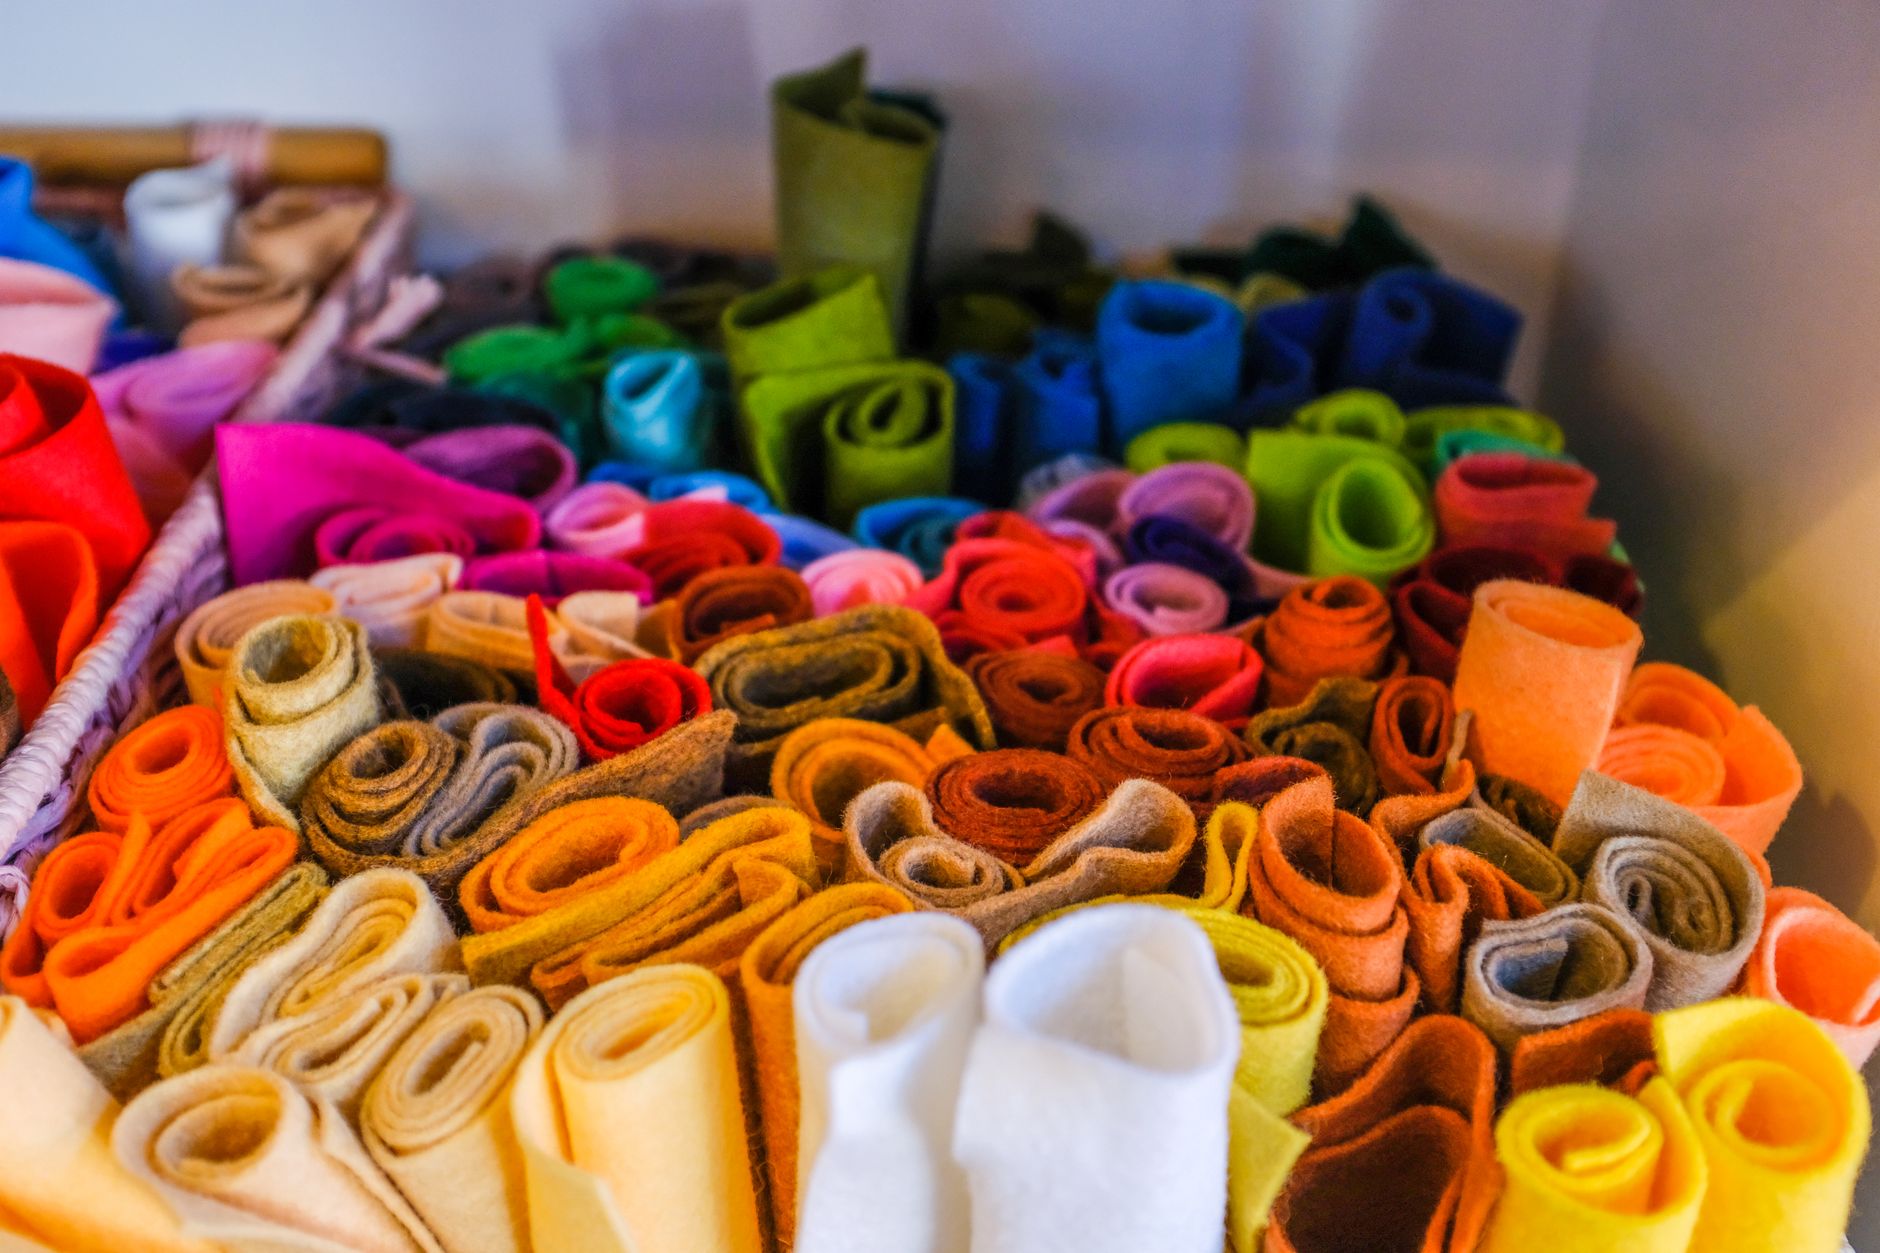
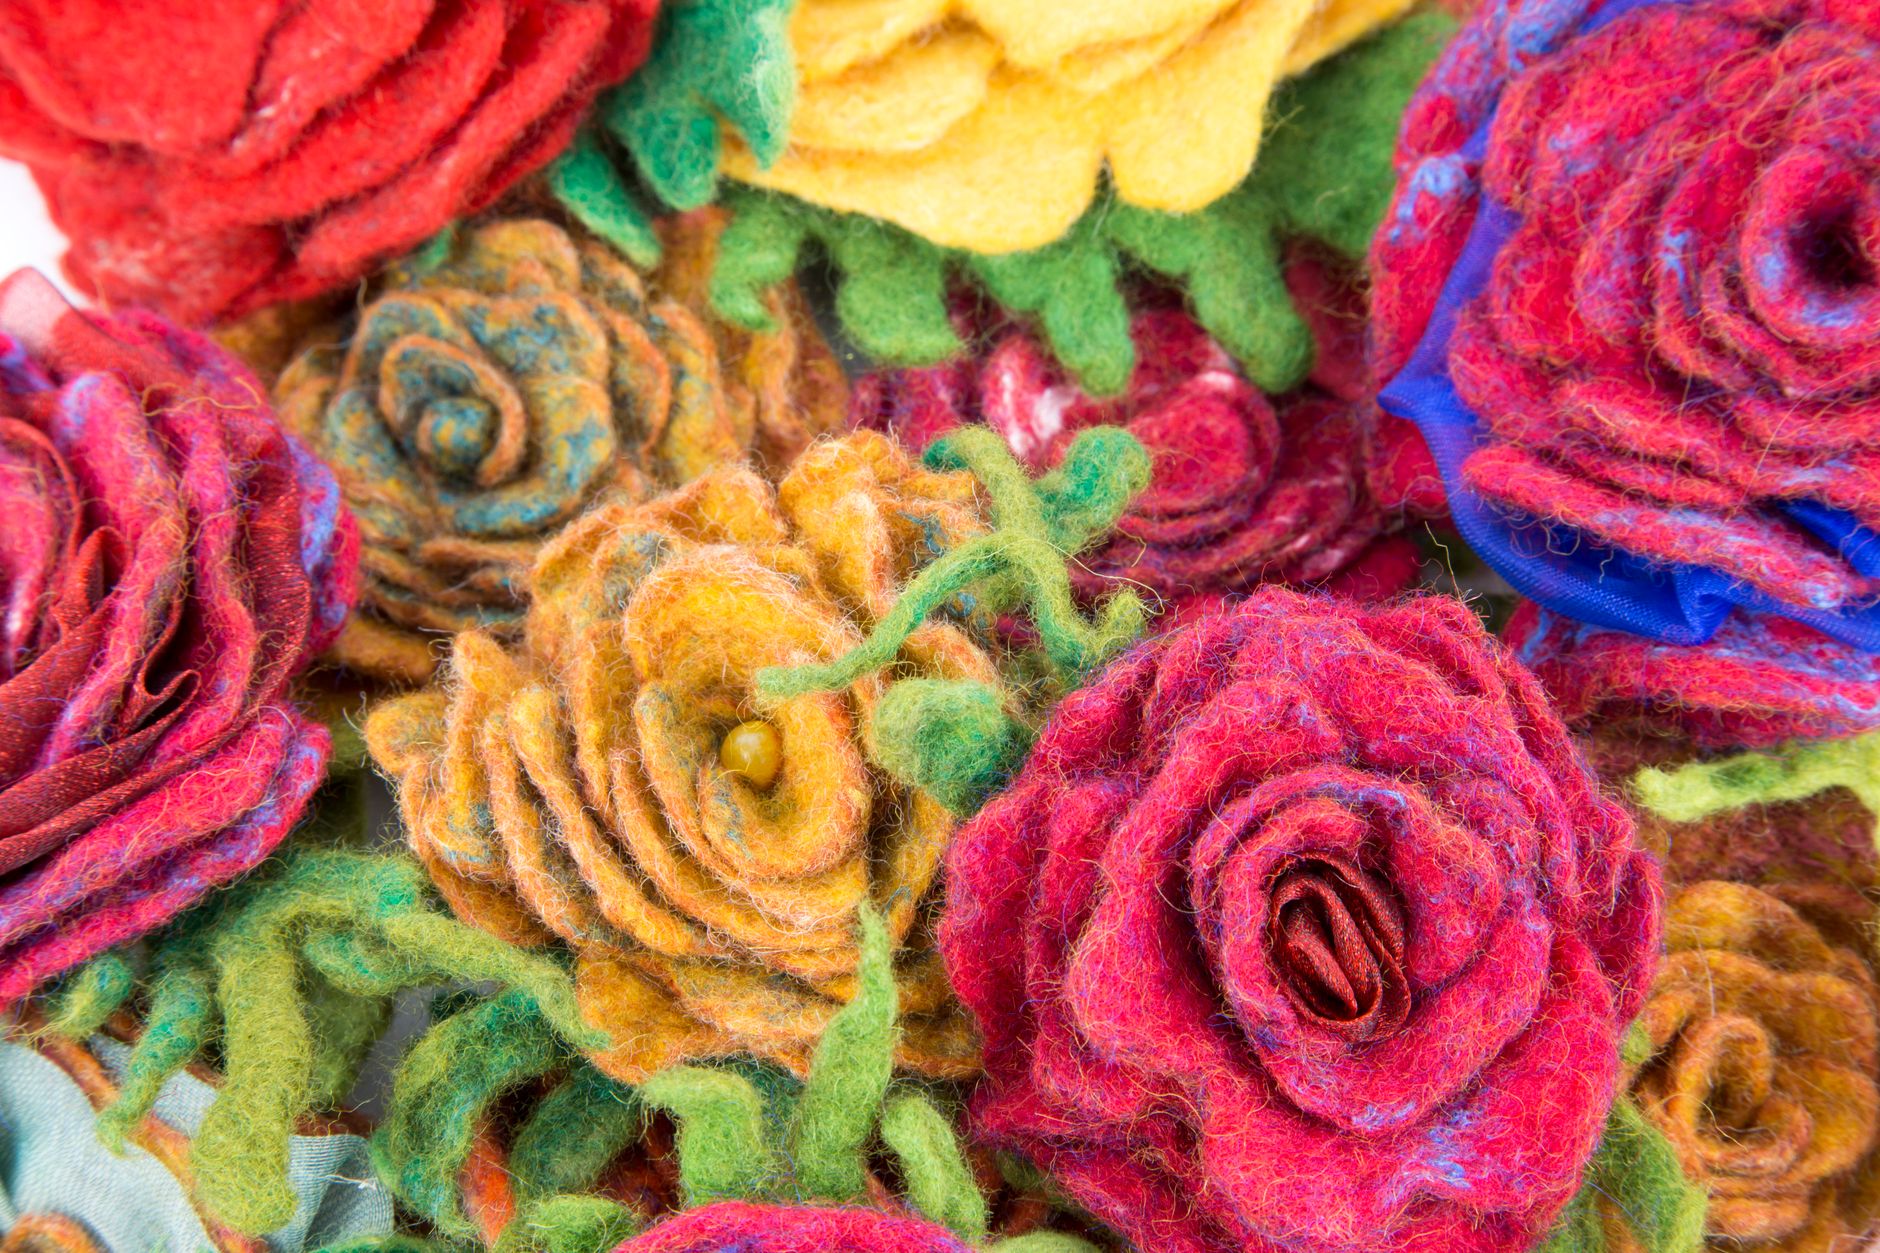
Cut a 2-inch scalloped strip from petal-colored felt — a strip with rounded bumps along one edge, traced freehand so no two petals match. Run a thin bead of fabric glue along the straight edge and roll the strip up from one end. As the roll tightens, the petals naturally fan into a rosette — the irregular scallops make it look gathered instead of mechanical. Pinch the bottom flat after rolling.
Layer for dimension
A second, larger scalloped strip (3 inches, deeper color) rolled underneath the first rosette turns flat ring into statement ring. Two layers read flower from across a room; three layers start reading corsage. The layering rule that governs the whole site: outer layer darker, inner lighter, center boldest.
Attach to the ring base
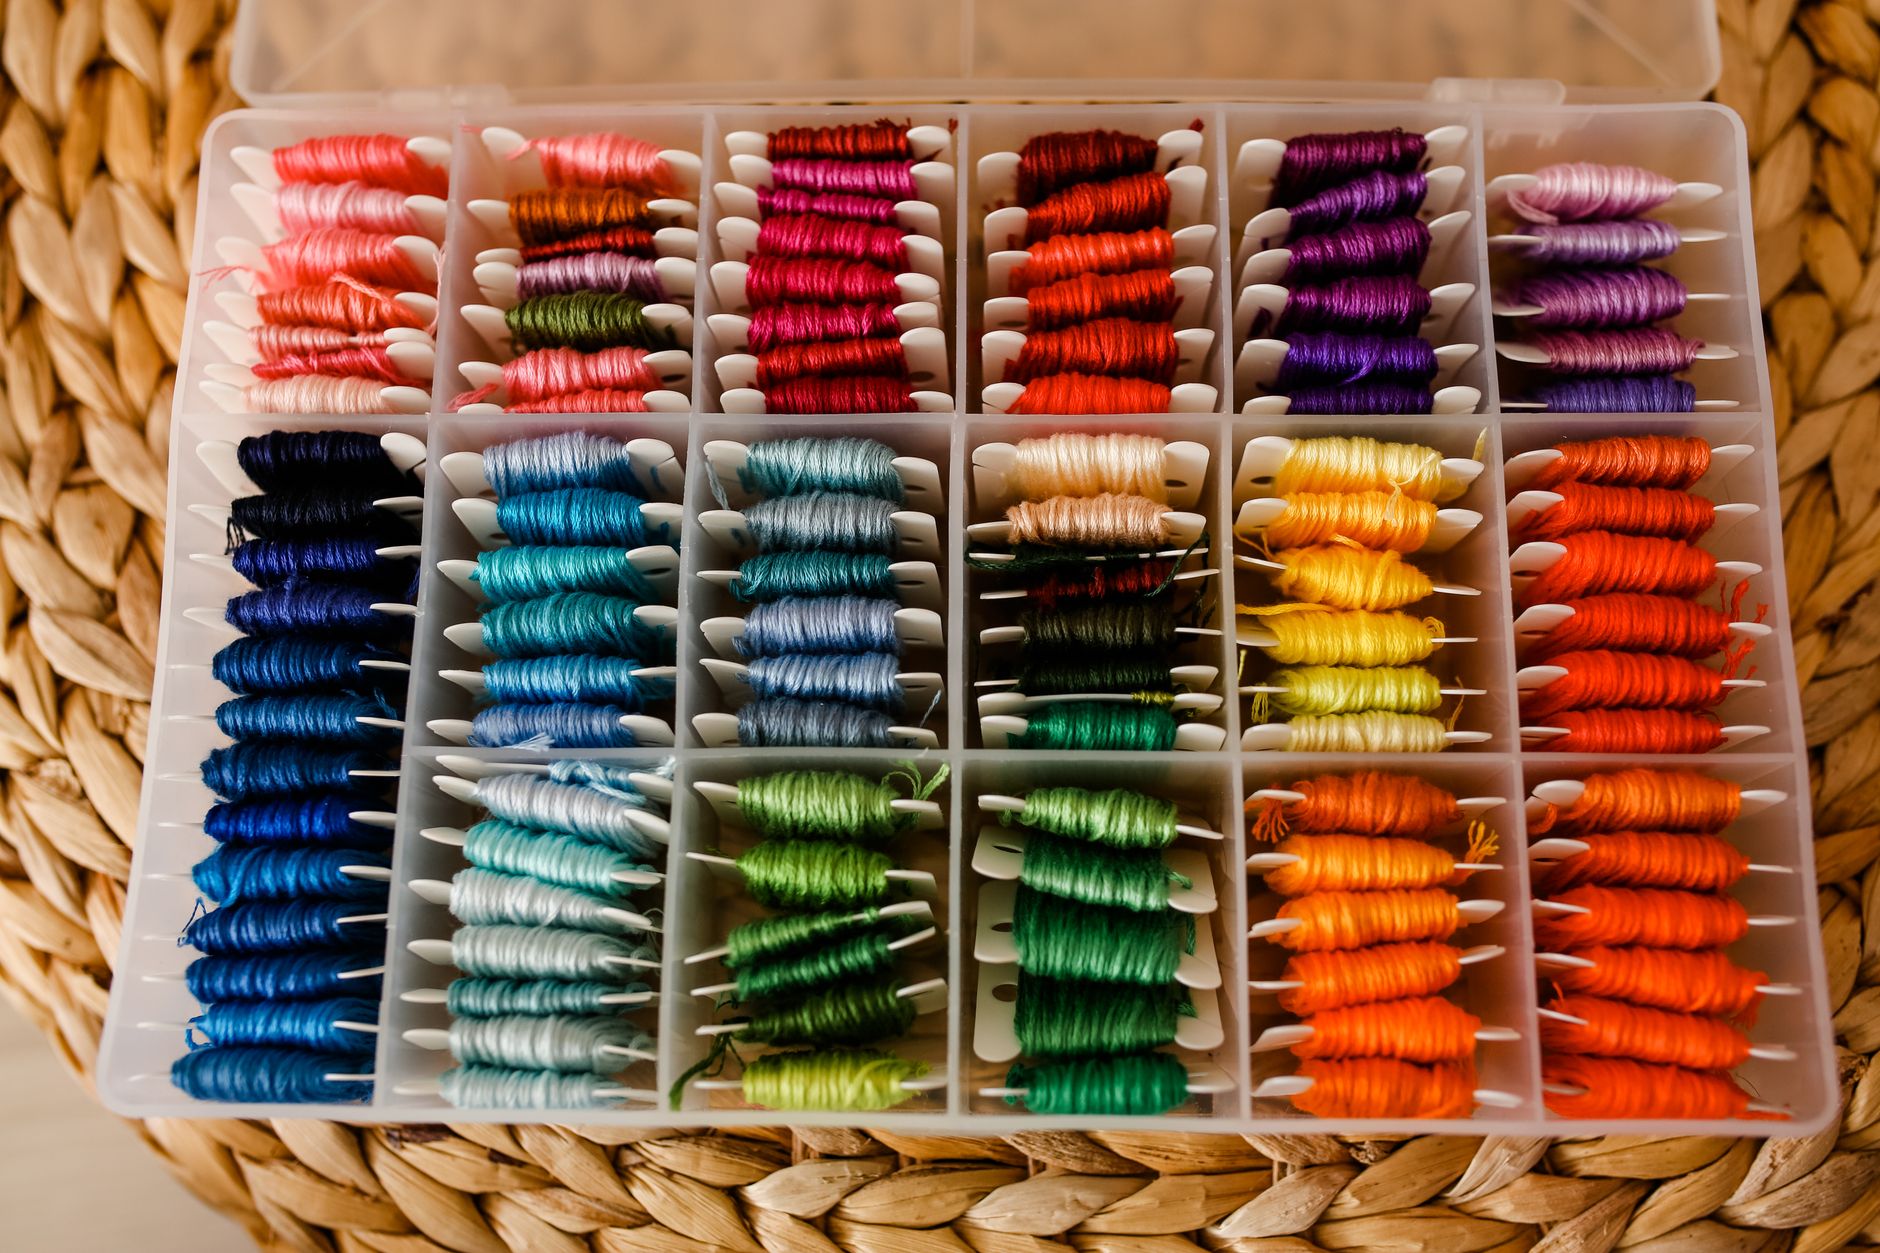
Embroidery floss through the rosette’s center, wrapped twice around a 6-inch grosgrain strip folded into a band, ending in a knot hidden under the flower’s back. Or skip the sewing and attach a pre-made adjustable ring blank with fabric glue — that’s the version I sold at 15 for $12. The stitched version holds up to hand-washing; the glued-on won’t — know which one you’re selling before labeling them “washable.”
Finishing touches
A single 4mm bead sewn through the center hole finishes the bloom — glass beads catch the light, matte reads vintage. For holidays the same pattern eats new colors instantly: red-green for the tree, orange-black for Halloween (and yes — pumpkin rings outsold rose rings every October, by a lot).